Introduction
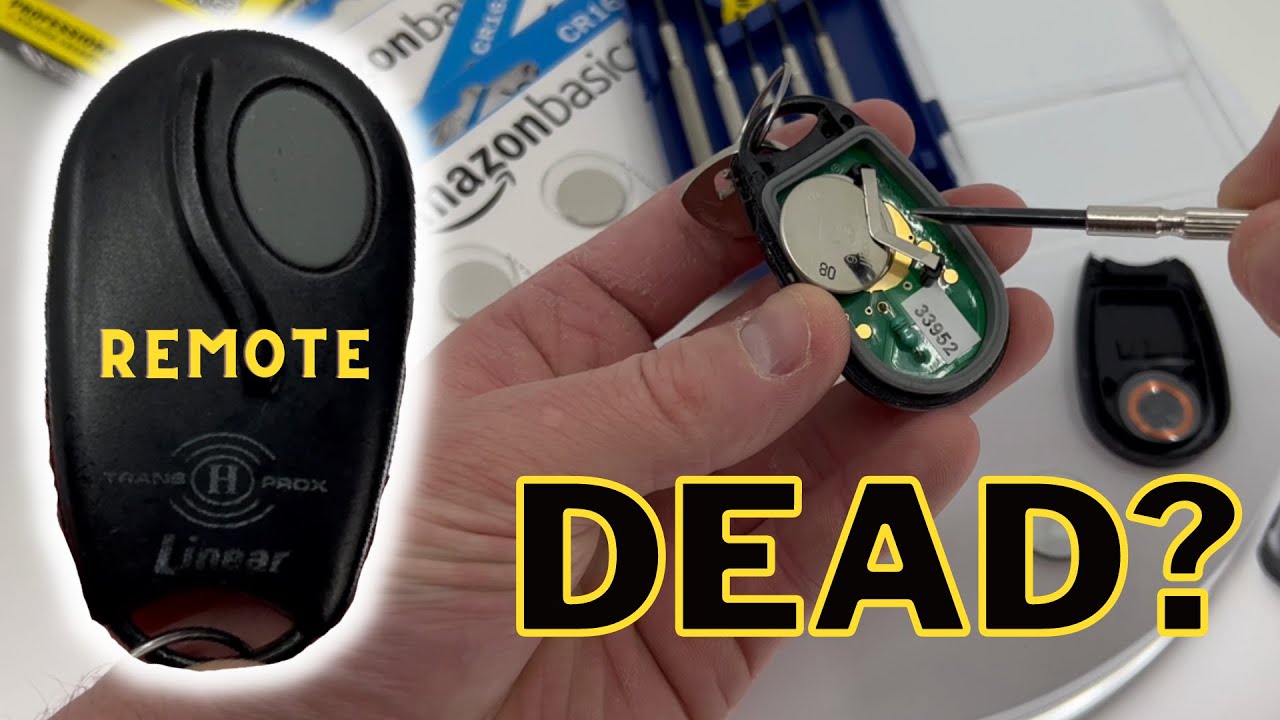
Is your remote garage or gate fob not working as efficiently as it used to? You might need to replace the battery. In this guide, I’ll walk you through the steps to change the battery in your fob quickly and easily.
Replacing the battery can resolve issues like needing multiple presses to open your gate or garage. Let’s dive in and get your fob working like new again.
Tools You’ll Need
Before you start, gather the necessary tools. Here’s what you’ll need:
- Precision screwdriver set
- Flathead screwdriver
- Two 2026 coin batteries
These tools make the process simple and efficient.
Identifying the Notch
The first step is to locate the notch on your fob. This notch is crucial for opening the fob without damaging it. Look around the edge of your fob to find a small indentation.
Once you find the notch, you’re ready to proceed.
Opening the Fob
To open the fob, take your flathead screwdriver. Insert it into the notch and gently wiggle it back and forth. Apply light pressure to pry open the fob.
Be careful not to use too much force. The plastic should come apart with minimal effort.
Removing the Old Batteries
Now that the fob is open, you’ll see the internal components, including the coin batteries. These are usually stacked together.
Slide the batteries out carefully. Remember the orientation: the positive side, with the lettering, should face you.
Keep this in mind for when you insert the new batteries.
Choosing the Right Batteries
It’s essential to use the correct batteries for your fob. For this guide, we’re using 2026 coin batteries.
Using the wrong size, like 1620, won’t work. Ensure you have the right type before proceeding.
Inserting the New Batteries
Take your new 2026 batteries. Stack them with the positive sides facing out, just like the old ones.
Slide them into the fob, ensuring they fit snugly.
Reassembling the Fob
Once the batteries are in place, align the two halves of the fob. Press them together until they snap back into place.
Double-check that the fob is securely closed.
Testing the Fob
With the new batteries installed, test your fob to ensure it works correctly. Try opening your garage or gate.
If it works on the first press, you’ve successfully replaced the batteries!
Tips for Maintaining Your Fob
To keep your fob in good condition, follow these tips:
- Replace batteries annually
- Avoid dropping the fob
- Keep it away from water
Regular maintenance can extend the life of your fob.
Common Issues and Solutions
If you encounter any issues, here are some common problems and their solutions:
- Fob not working: Check battery orientation
- Buttons unresponsive: Clean the contacts
- Fob not closing properly: Realign the halves
These tips can help troubleshoot most problems.
When to Replace Your Fob
Sometimes, replacing the batteries isn’t enough. Here’s when to consider a new fob:
- Frequent battery changes needed
- Physical damage to the fob
- Inconsistent performance
If you experience these issues, it might be time for a new fob.
FAQ
How often should I replace the batteries?
It’s best to replace the batteries annually to ensure optimal performance.
What if my fob still doesn’t work after changing the batteries?
Double-check the battery orientation and ensure the fob is properly closed. If it still doesn’t work, the fob might be damaged.
Can I use any coin batteries?
No, it’s crucial to use the correct size. For this guide, use 2026 batteries.
Is it easy to damage the fob while opening it?
As long as you’re gentle and use the notch, you shouldn’t damage the fob.
Where can I buy replacement batteries?
You can purchase them online or at most electronics stores.
What if I lose my screwdriver set?
You can use a small key, but a precision screwdriver set is recommended.
Conclusion
Replacing the battery in your remote garage or gate fob is a simple process that can save you time and frustration. By following this guide, you’ll have your fob working like new in no time.
Remember to use the correct tools and batteries, and handle the fob with care. Regular maintenance can keep your fob functioning smoothly for years to come.
Thank you for reading, and I hope this guide has been helpful!

