
Introduction
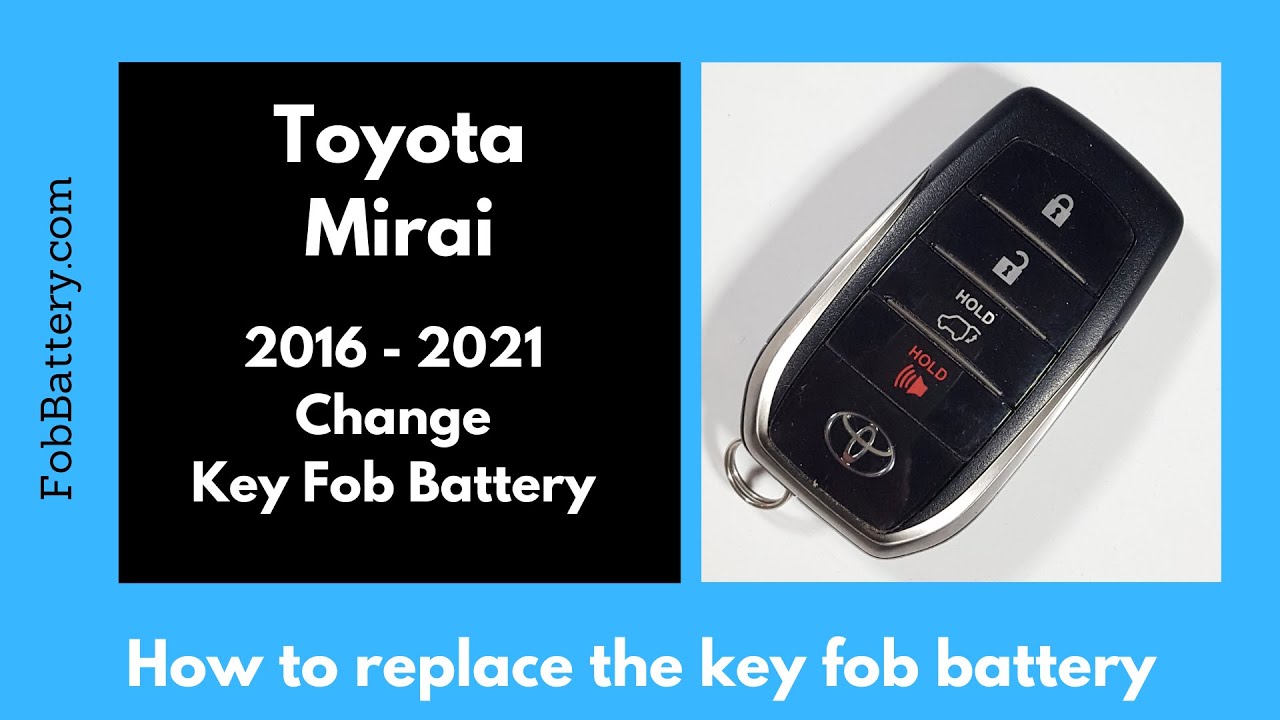
In this guide, I will walk you through the simple steps to replace the battery in your Toyota Mirai key fob. This process is straightforward and can be done at home with minimal tools. All you need is a CR2032 coin battery and a flathead screwdriver.

- Plastic, Metal
- Imported
- IN THE BOX: 4-pack of CR2032 3 volt lithium coin cell batteries; replacement for BR2032, DL2032, and ECR2032
Tools and Materials Needed
- CR2032 coin battery
- Flathead screwdriver
You can easily purchase the CR2032 battery online. Here is a link to buy it on Amazon.
Step-by-Step Instructions
Step 1: Remove the Internal Key
First, locate the small switch on the back of the key fob. Hold down this switch and pull out the internal key. Set the key aside for now.
Step 2: Open the Key Fob
Next, find the small slot next to the keyhole. Insert a flathead screwdriver into this slot. Hold the device loosely and twist the screwdriver. This action will crack open the key fob. Separate the two halves and set them aside.
Step 3: Remove the Circuit Board
Carefully lift out the circuit board from the key fob. Be cautious not to touch the back of the board too much. Hold it by the sides to avoid any damage.
Step 4: Remove the Old Battery
Using the same flathead screwdriver, gently insert it between the battery and the plastic holding it. Wiggle the screwdriver to pop out the old battery. Be gentle to avoid damaging the circuit board.
Step 5: Insert the New Battery
Take the new CR2032 battery and ensure the positive side is facing up. Click the battery into place, making sure the plus sign is visible. Align the battery with the small circle icon inside the key fob.
Step 6: Reassemble the Key Fob
Place the circuit board back into the key fob, ensuring it is facing up. Snap the two halves of the key fob back together. Finally, insert the internal key back into its slot.
- Plastic, Metal
- Imported
- IN THE BOX: 4-pack of CR2032 3 volt lithium coin cell batteries; replacement for BR2032, DL2032, and ECR2032
Testing the Key Fob
After reassembling the key fob, press a button to ensure the light comes on. This indicates that the battery replacement was successful.
Additional Tips
- Handle the circuit board carefully.
- Ensure the battery is aligned correctly.
- Test the key fob before final assembly.
FAQ
What type of battery does the Toyota Mirai key fob use?
The Toyota Mirai key fob uses a CR2032 coin battery.
Where can I buy the CR2032 battery?
You can purchase the CR2032 battery on Amazon.
- Plastic, Metal
- Imported
- IN THE BOX: 4-pack of CR2032 3 volt lithium coin cell batteries; replacement for BR2032, DL2032, and ECR2032
Can I use a different type of battery?
No, it is recommended to use the specific CR2032 battery for optimal performance.
Is it safe to replace the battery myself?
Yes, replacing the battery in your key fob is a simple and safe process.
How often should I replace the battery?
The battery life varies, but it is generally a good idea to replace it every 1-2 years.
Conclusion
Replacing the battery in your Toyota Mirai key fob is a quick and easy task that can be done at home. By following these steps, you can ensure your key fob remains functional and reliable. If you found this guide helpful, feel free to leave a comment or like the post. For more tutorials on key fob battery replacements, visit us at fobbattery.com.