Introduction
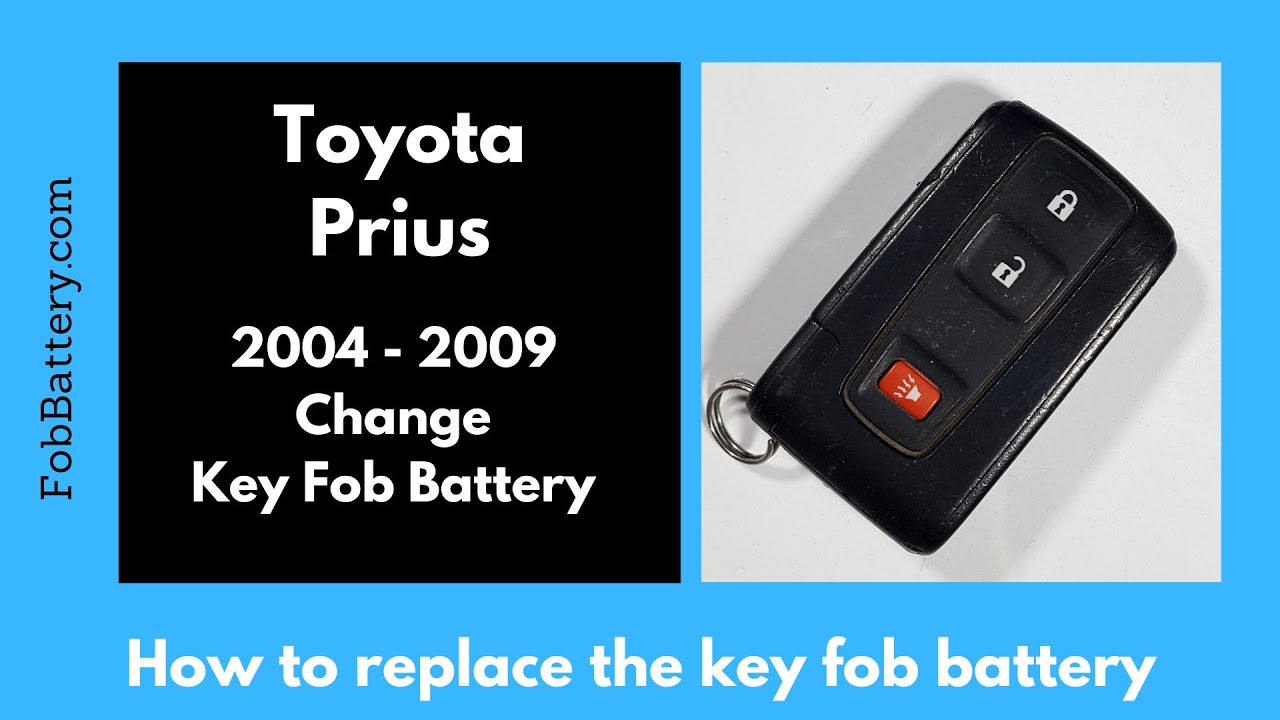
Replacing the battery in your Toyota Prius key fob can seem daunting, but it’s a straightforward process. This guide will walk you through each step, ensuring your key fob works like new. We’ll cover what tools you’ll need, how to open the key fob, and how to replace the battery.
- Plastic, Metal
- Imported
- IN THE BOX: 4-pack of CR2032 3 volt lithium coin cell batteries; replacement for BR2032, DL2032, and ECR2032
Required Tools and Materials
Before you start, gather the necessary tools and materials. Having everything ready will make the process smoother.
- CR2032 coin battery
- Small precision screwdriver
You can purchase the CR2032 coin battery from Amazon for convenience.
Step 1: Remove the Internal Key
The first step is to remove the internal key from the key fob. Look at the bottom of the key fob and locate the switch. Hold down this switch and pull out the internal key.
- Hold down the switch
- Pull out the internal key
If the key is stuck, gently wiggle it while pulling. Set the key aside once removed.
Step 2: Open the Key Fob
Next, you need to open the key fob to access the battery. Use the same switch you used to remove the key.
- Hold down the switch
- Push up on the back of the device
This will slide off a small piece of plastic. Set this piece aside.
Step 3: Remove the Screws
Now, you need to remove the screws holding the key fob together. Use a small precision screwdriver that fits the screws properly.
- Use a small precision screwdriver
- Remove the screws carefully
Be cautious not to strip the screws, as this will make it difficult to open the key fob in the future.
Step 4: Separate the Key Fob
With the screws removed, you can now separate the key fob. Insert the screwdriver into the small area at the top and pry it open.
- Insert the screwdriver at the top
- Pry open the key fob
Be gentle to avoid damaging the plastic components.
Step 5: Remove the Old Battery
Once the key fob is open, you’ll see the battery. To remove it, push on the bottom of the battery with your finger or the precision screwdriver.
- Push on the bottom of the battery
- Pull out the battery
If the battery is stuck, gently wiggle it until it comes loose.
Step 6: Insert the New Battery
Take the new CR2032 battery and insert it into the key fob. Ensure the positive side is facing up.
- Insert the new battery
- Positive side facing up
Slide the battery into place and press it down until it sits flush.
Step 7: Reassemble the Key Fob
With the new battery in place, it’s time to reassemble the key fob. Start by screwing the screws back in.
- Replace the screws
- Tighten them carefully
Don’t over-tighten the screws to avoid stripping them.
Step 8: Reattach the Plastic Cover
Slide the small plastic piece back onto the key fob. Hold down the switch while doing this to ensure it clicks into place.
- Hold down the switch
- Slide the plastic cover back on
Ensure the cover is secure and not sticking out.
Step 9: Insert the Internal Key
Finally, insert the internal key back into the key fob. Push it in until it clicks into place.
- Insert the internal key
- Push until it clicks
Your key fob should now be fully functional with the new battery.
- Plastic, Metal
- Imported
- IN THE BOX: 4-pack of CR2032 3 volt lithium coin cell batteries; replacement for BR2032, DL2032, and ECR2032
Testing the Key Fob
To ensure everything is working correctly, test the key fob by pressing a button. If the light comes on, the battery is properly installed.
- Press a button on the key fob
- Check for the light
If the light doesn’t come on, double-check the battery orientation and ensure everything is assembled correctly.
Conclusion
Replacing the battery in your Toyota Prius key fob is a simple process that can save you time and money. With the right tools and this step-by-step guide, you can do it yourself at home. If you found this guide helpful, let us know in the comments or give it a like to help others.
For more tutorials on key fob battery replacements, visit our site at fobbattery.com.
FAQ
What type of battery does a Toyota Prius key fob use?
The Toyota Prius key fob uses a CR2032 coin battery.
Where can I buy a CR2032 battery?
You can purchase a CR2032 battery from Amazon.
- Plastic, Metal
- Imported
- IN THE BOX: 4-pack of CR2032 3 volt lithium coin cell batteries; replacement for BR2032, DL2032, and ECR2032
Do I need any special tools to replace the battery?
You will need a small precision screwdriver to remove the screws in the key fob.
How often should I replace the key fob battery?
The battery typically lasts several years, but you should replace it when it starts to weaken.
Can I use any brand of CR2032 battery?
Yes, any brand of CR2032 battery will work as long as it is the correct size.
What if I strip the screws?
Be careful not to strip the screws. If you do, you may need to seek professional help to remove them.


