
Introduction
Programming a new key fob for your Chrysler can be a cost-effective and straightforward process. By following a few simple steps, you can avoid the high prices charged by dealerships. This guide will walk you through the process using a simple key kit, covering various Chrysler models and years.
Required Materials
Before you start, ensure you have the following items:
- Simple key kit
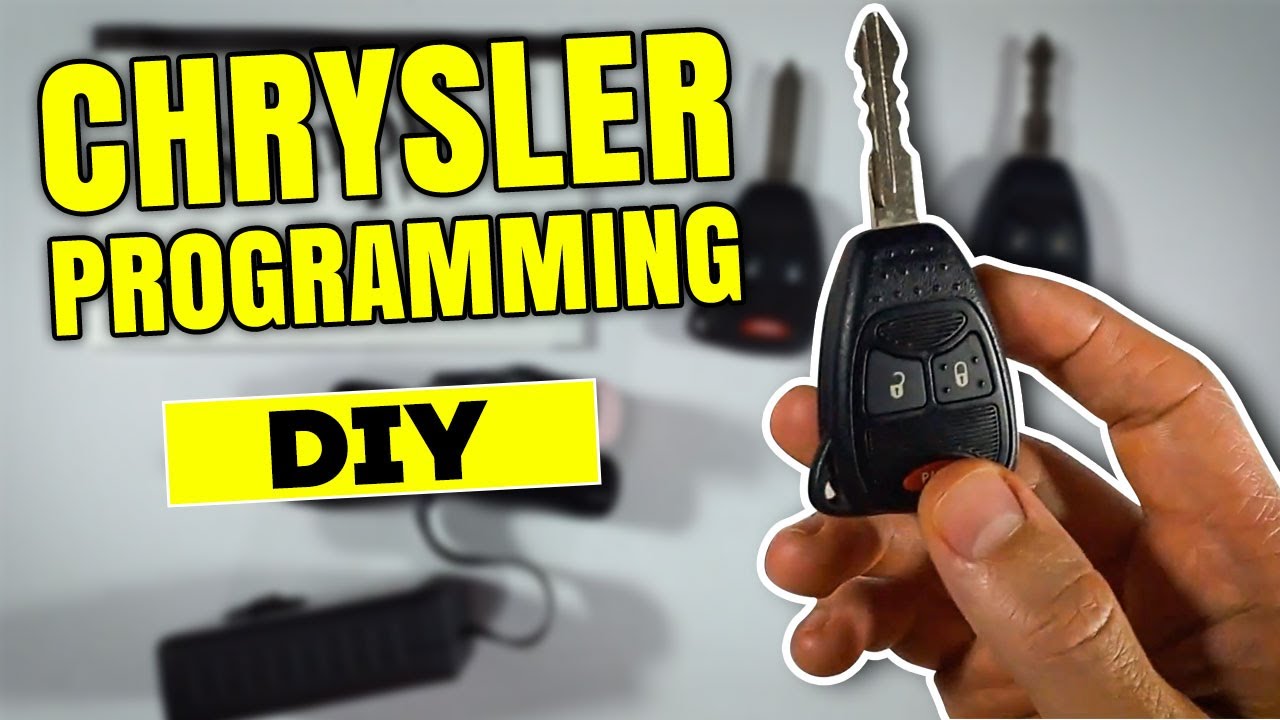
- Current working key
- New key
- Easy installer
- User guide
Initial Setup
First, let’s open the simple key kit and inspect its contents. Inside, you should find a user guide, an easy installer, and a new key. Check the plastic seal on the easy installer. If it is missing, damaged, or says “void,” you will need to replace the kit. Ensure your new key’s physical key is cut before starting, which you can do at a local hardware store.
Activate Your Key
To activate your key, you need a unique activation code. This code varies depending on your key fob and vehicle model. Refer to the user guide for the specific code for your model. For Chrysler Aspen owners, check the FCC ID on the back of your original key fob to find the correct activation code.
Follow these steps to activate your key:
- Press the lock and panic buttons simultaneously until the light comes on.
- Enter the three-digit code: first digit with lock, second with panic, and third with unlock.
- Press lock and panic again; the light should blink back your activation code.
Locate the OBD Port
Next, locate your vehicle’s OBD port. It is usually under the dash, near the pedals. If you have trouble finding it, consult your vehicle’s owner’s manual. Once located, ensure your vehicle is off, in park, and all doors are closed. Turn on the hazard lights.
Set the Dial Position
Set the dial position on the easy installer based on your vehicle model:
- Chrysler 200, PT Cruiser, Sebring: Position 1
- Chrysler 300, Aspen: Position 2
Pairing Process
Now, let’s begin the pairing process. Follow these steps carefully:
- Start the vehicle with the original working key.
- Plug the easy installer into the OBD port.
- Wait up to eight seconds for three quick beeps.
- Turn off the vehicle and insert the new key, turning it to the “on” position (do not start the engine).
- Press the button on the easy installer and wait for three beeps.
- Turn off the vehicle and remove the new key.
- Press the button on the easy installer again and listen for a chime.
If successful, your new key is now paired. Remove the easy installer from the OBD port and turn off the hazard lights. Test your new key to ensure it works properly.
Programming Additional Keys
You can program up to eight keys for your vehicle. To do this, repeat the activation and pairing process for each additional key.
Troubleshooting Errors
During the activation or pairing process, you may encounter errors. Here are some common issues and their solutions:
- Eight beeps: Maximum of eight keys already paired. Contact customer service.
- Two beeps at one-second intervals: Easy installer already paired to another vehicle.
- Three beeps at one-second intervals: Easy installer not detecting the original key. Ensure the original key is present.
General Troubleshooting
If your key isn’t pairing or the easy installer was unplugged during the process, start over from the beginning. For other issues, refer to the user guide or contact customer service for assistance.
Conclusion
By following these steps, you can successfully program a new key fob for your Chrysler, saving money and avoiding dealership visits. The process is simple and can be done at home with the right tools and instructions.
FAQ
Do I need a working key to program a new one?
Yes, you need a current working key to program a new one.
Where can I get the physical key cut?
You can get the physical key cut at a local hardware store.
How many keys can I program?
You can program up to eight keys for your vehicle.
What if I encounter an error during the process?
Refer to the user guide or contact customer service for assistance.