Introduction
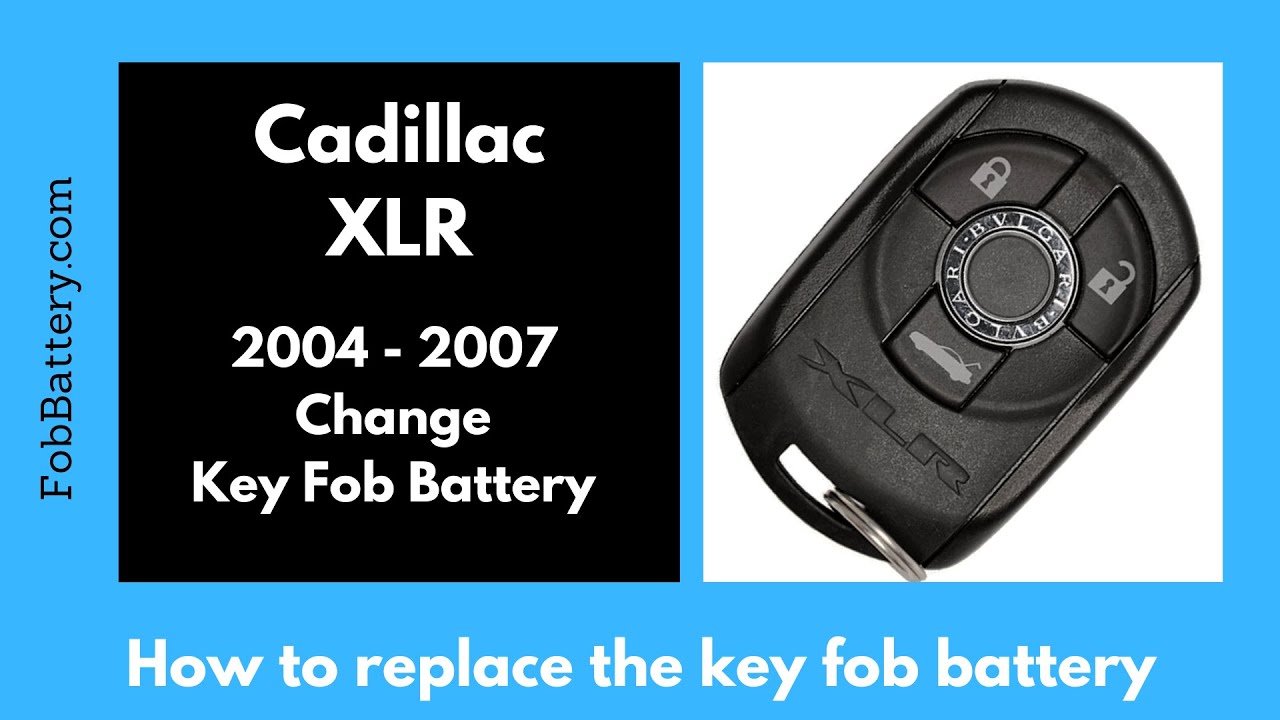
Replacing the battery in your Cadillac XLR key fob is a straightforward process that you can do at home. This guide will walk you through the steps needed to open the key fob, replace the battery, and reassemble the device. All you need is a CR2032 battery and a coin.
- Plastic, Metal
- Imported
- IN THE BOX: 4-pack of CR2032 3 volt lithium coin cell batteries; replacement for BR2032, DL2032, and ECR2032
Gather Your Supplies
Before you start, make sure you have the necessary tools and materials. You will need:
- CR2032 battery
- Coin (quarter or nickel)
If you don’t have a CR2032 battery, you can easily purchase one online from Amazon.
Opening the Key Fob
First, locate the seam in the plastic at the corner of the key fob. This is where you’ll insert your coin to open the device.
Step-by-Step Instructions
- Insert the coin into the seam.
- Twist the coin until you hear a crack.
- Continue twisting until the key fob starts to open.
- Use your fingers to pull the key fob apart.
Sometimes, the key fob may be tightly sealed. If that’s the case, use the coin to twist a bit more until it opens easily.
Removing the Old Battery
Once the key fob is open, you’ll see the circuit board and the old battery. To remove the old battery:
- Locate the metal tabs holding the battery in place.
- Gently pull up on one of the tabs.
- Slide the old battery out, keeping the metal component attached.
Dispose of the old battery properly.
Inserting the New Battery
Now that you’ve removed the old battery, it’s time to insert the new CR2032 battery.
- Take the new battery and ensure the positive side (marked with a plus sign) is facing down.
- Slide the new battery into the metal component.
- Make sure it clicks into place.
Reassembling the Key Fob
With the new battery in place, it’s time to reassemble the key fob. Follow these steps:
- Align the housing with the circuit board.
- Position the metal component and the battery correctly.
- Push the pieces together until they click into place.
Your key fob should now be fully functional.
- Plastic, Metal
- Imported
- IN THE BOX: 4-pack of CR2032 3 volt lithium coin cell batteries; replacement for BR2032, DL2032, and ECR2032
Conclusion
Replacing the battery in your Cadillac XLR key fob is a simple task that takes only a few minutes. By following these steps, you can save time and money. If you found this guide helpful, consider checking out other tutorials on key fob maintenance.
FAQ
What type of battery does the Cadillac XLR key fob use?
The Cadillac XLR key fob uses a CR2032 battery.
Where can I buy a CR2032 battery?
You can purchase a CR2032 battery from Amazon.
- Plastic, Metal
- Imported
- IN THE BOX: 4-pack of CR2032 3 volt lithium coin cell batteries; replacement for BR2032, DL2032, and ECR2032
Do I need any special tools to replace the battery?
No, you only need a coin (such as a quarter or nickel) to open the key fob.
How often should I replace the battery in my key fob?
It’s generally a good idea to replace the battery every 1-2 years, or when you notice a decrease in functionality.
Is it safe to replace the battery myself?
Yes, replacing the battery is safe and straightforward if you follow the steps outlined in this guide.
What should I do with the old battery?
Dispose of the old battery according to your local regulations for battery disposal.
Can I use a different type of battery?
No, you should only use a CR2032 battery to ensure proper functionality.
What if my key fob still doesn’t work after replacing the battery?
If your key fob still doesn’t work, you may need to consult a professional for further diagnostics.


