Key fob batteries usually last 3-5 years. This means the battery in your Honda Accord key fob remote or smart fob will eventually need to be replaced.
Your key fob battery will give you a variety of warning indications that your battery is about to die. Like, it stops working, or you have to mash it a zillion times. Sigh. In this post, I’ll show you the 3 major key fobs used in the accord and how to change the battery in each one.
Keep reading or scroll down to watch the videos on how to change each of the batteries in the three types of fobs used for the Accord.
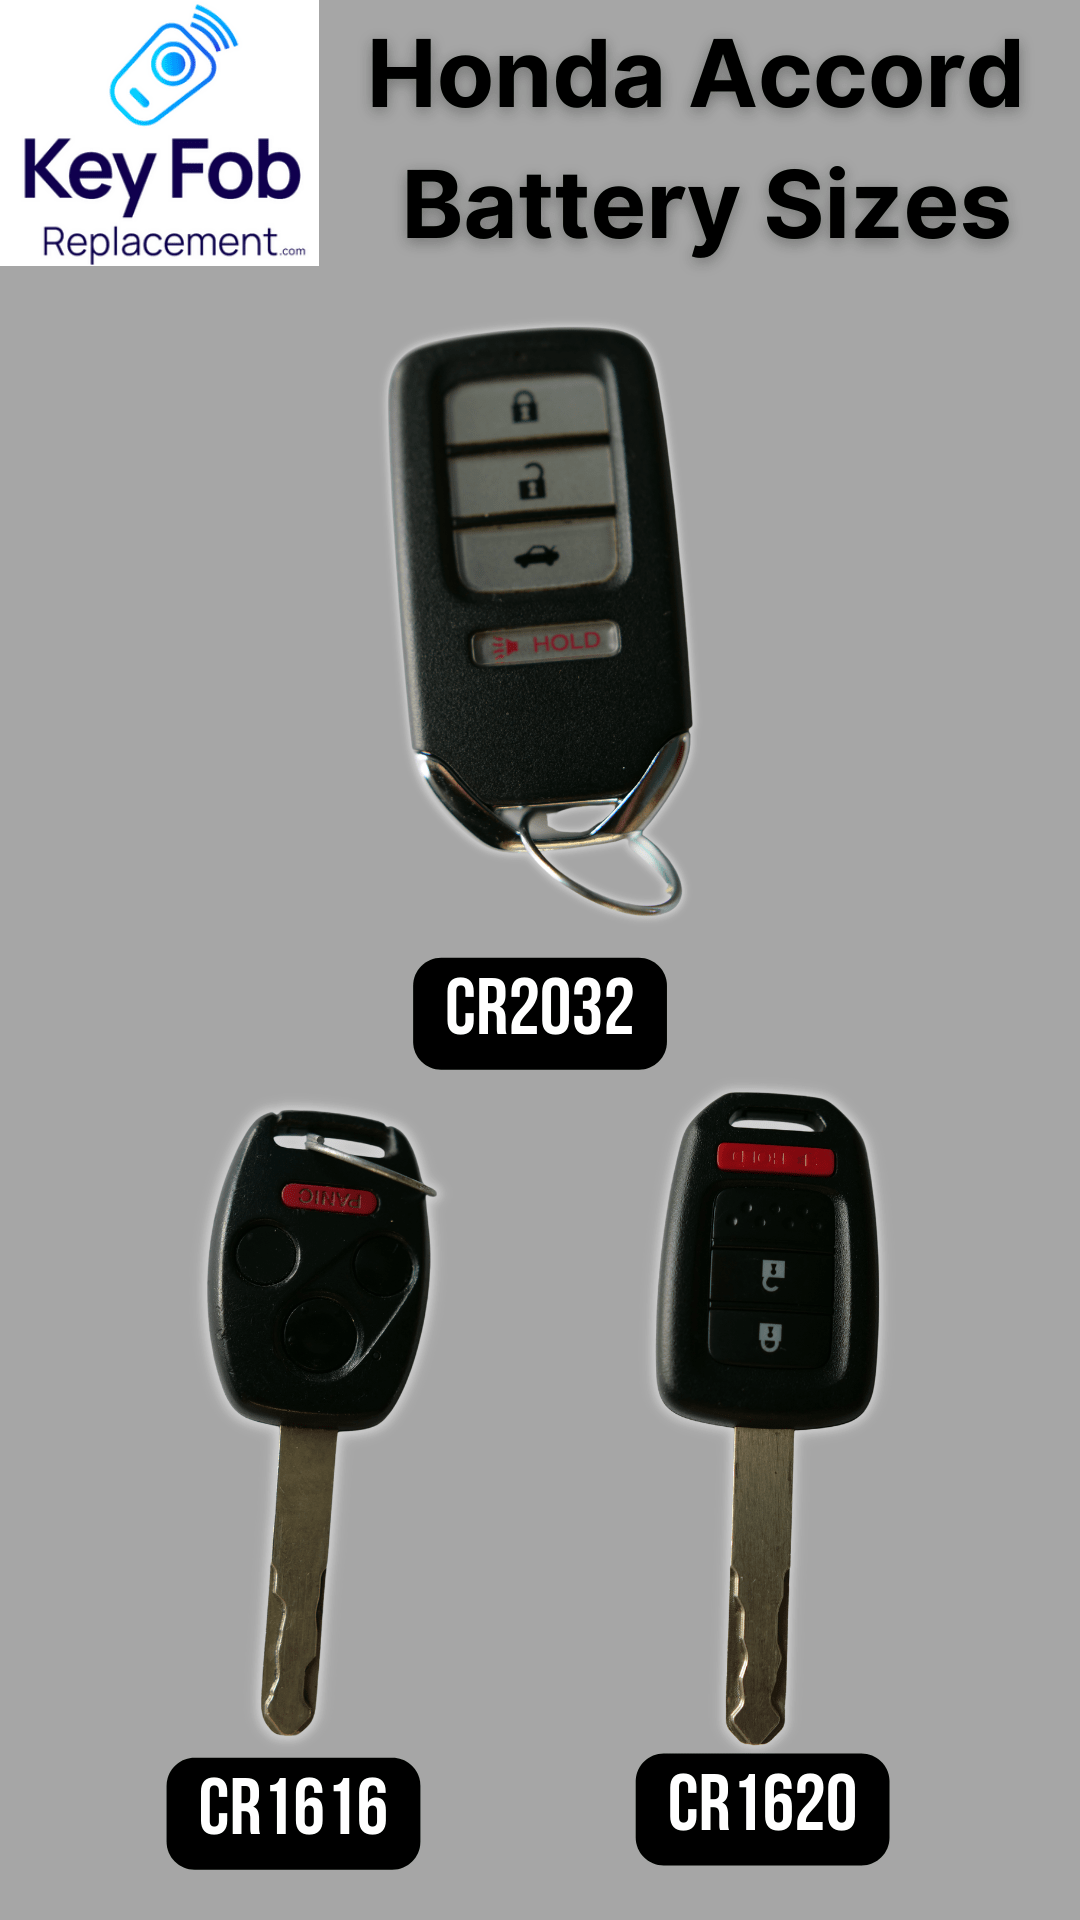
| Key Fob | Years | Battery | Buy |
|---|---|---|---|
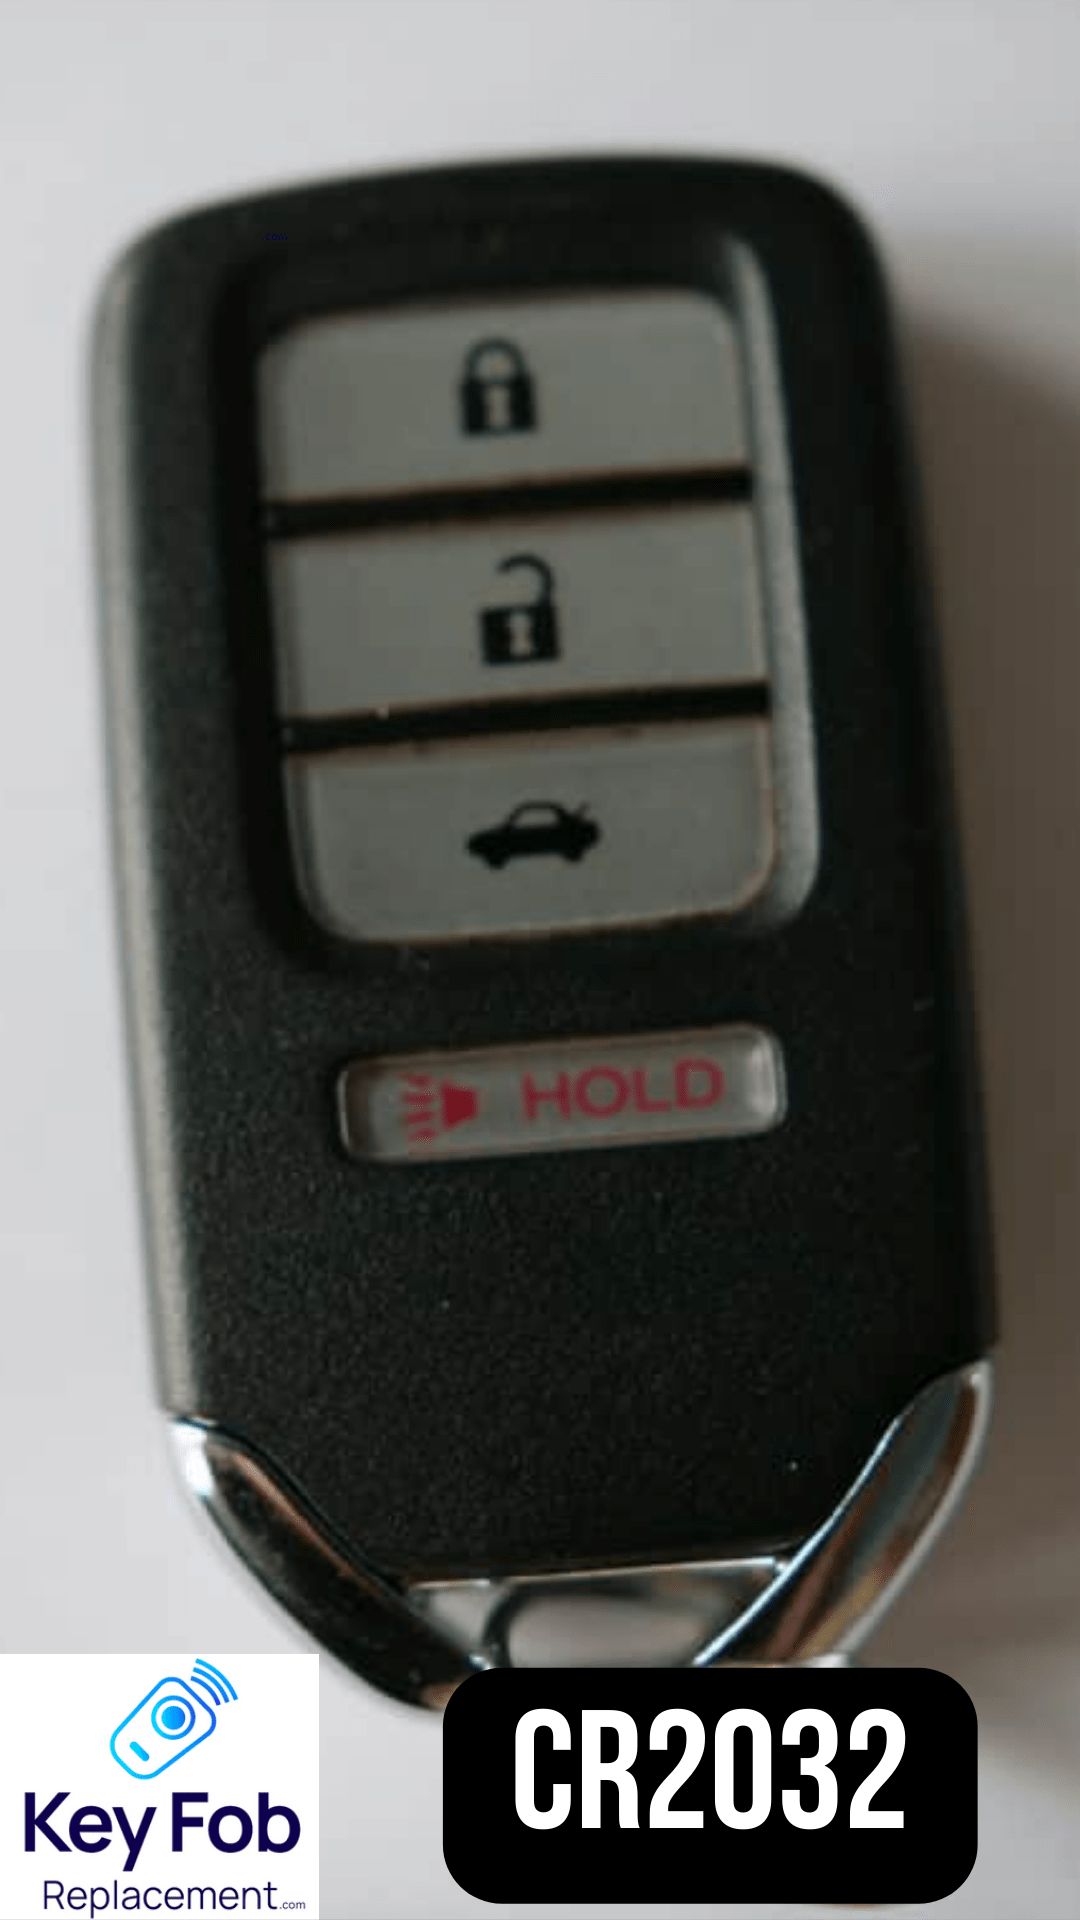
 | 2013 – Present | CR2032 | Check Price on Amazon |
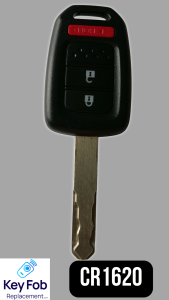 | 2013 – 2017 | CR1620 | Check Price on Amazon |
 | 2003 – 2011 | CR1616 | Check Price on Amazon |
Let’s start with changing the battery in the most recent Honda Accord Smart Key:
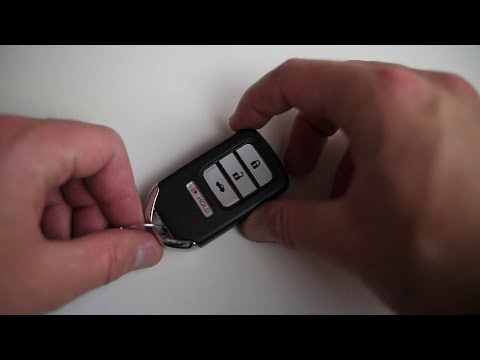
This is the battery you need for this Honda Accord Smart Key Fob:

How to Replace the Battery in the Honda Accord Smart Key Fob
Total Time: 2 minutes
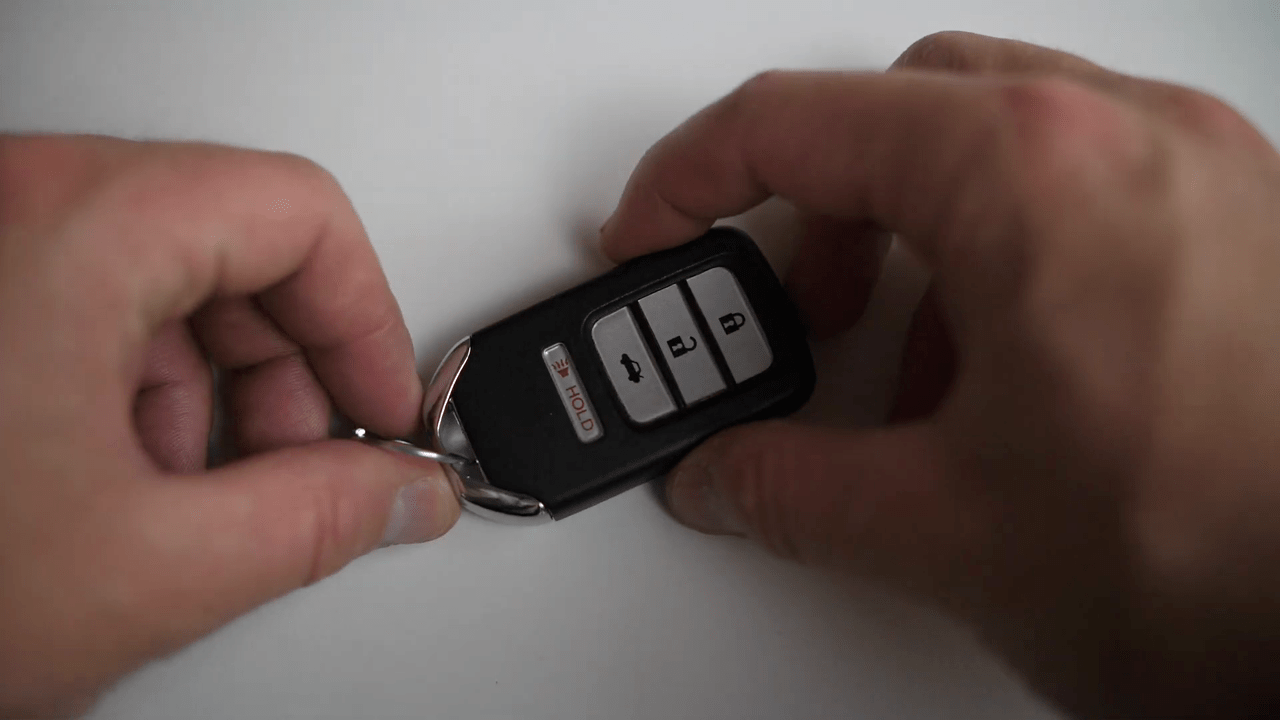
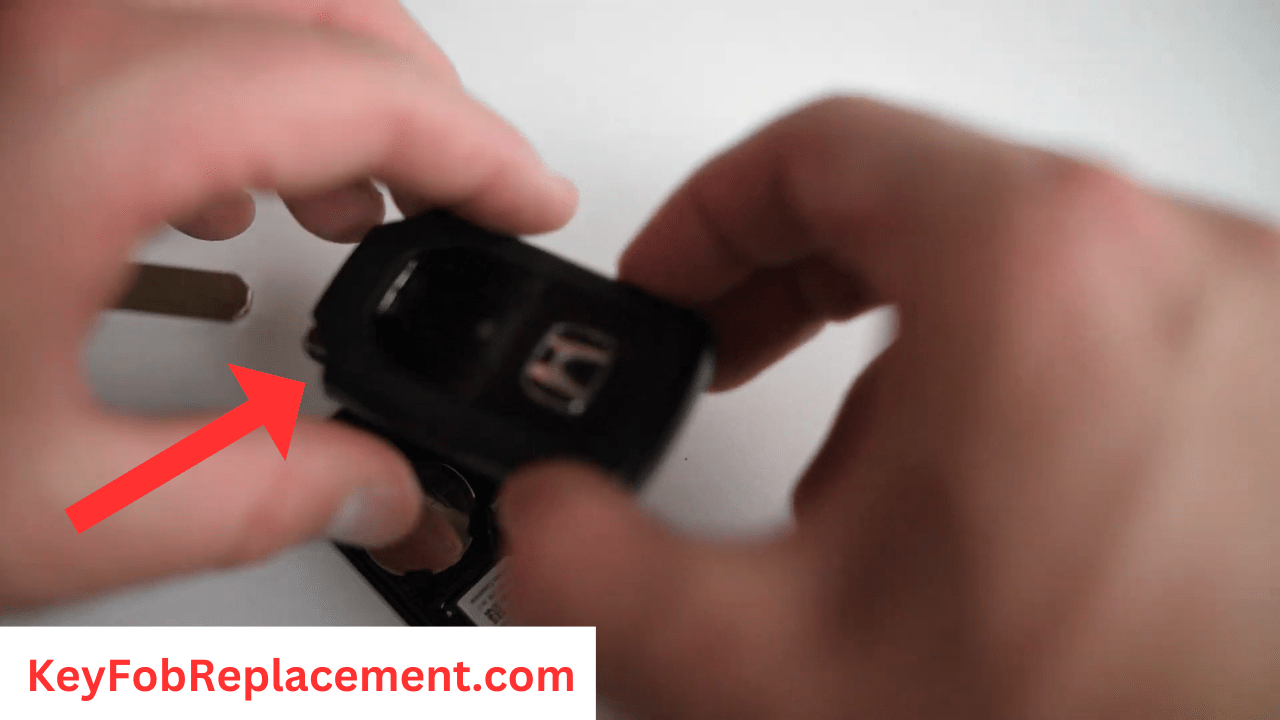
1. Remove the internal valet key
Flip the key over to reveal a knob. The knob looks like an arrow facing down. Now pull the knob towards you and take out the valet key.
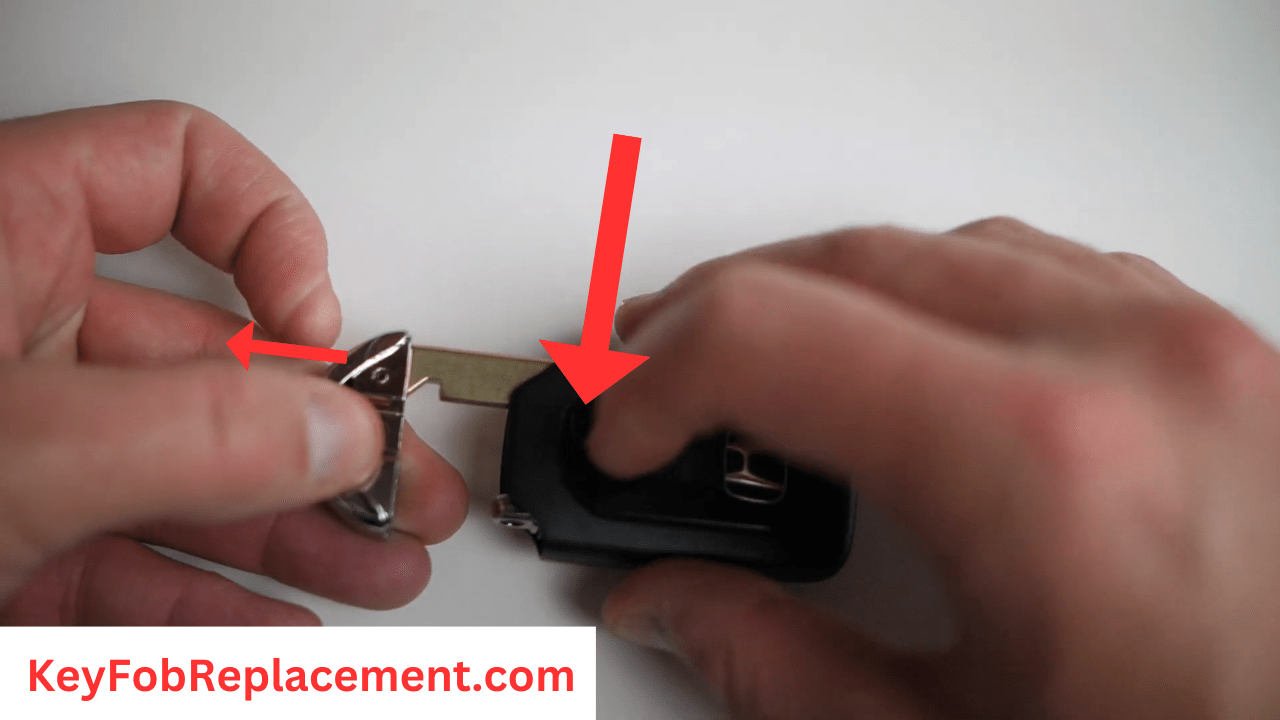
2. Loosen case all around
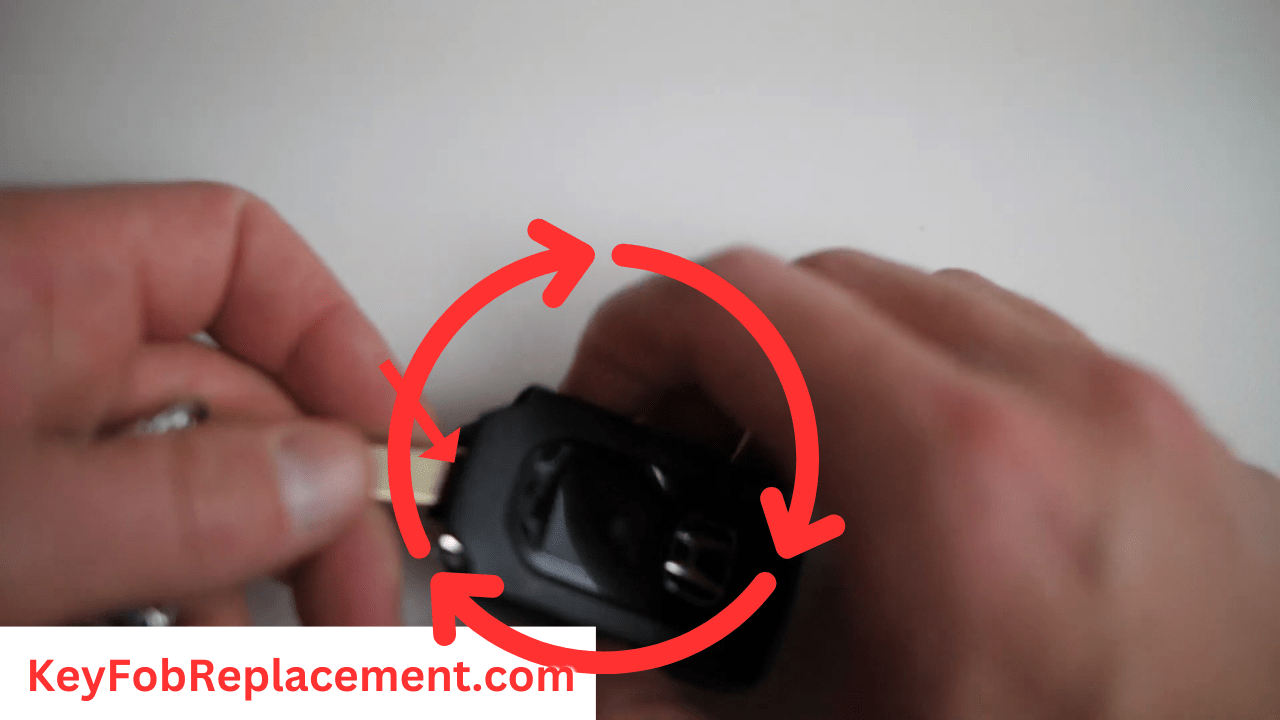
Stick the valet key into the slot at the center of the fob key and pop around the fob. Then the fob key will come apart in halves and give you access to the battery.
3. Remove old battery, insert new CR2032
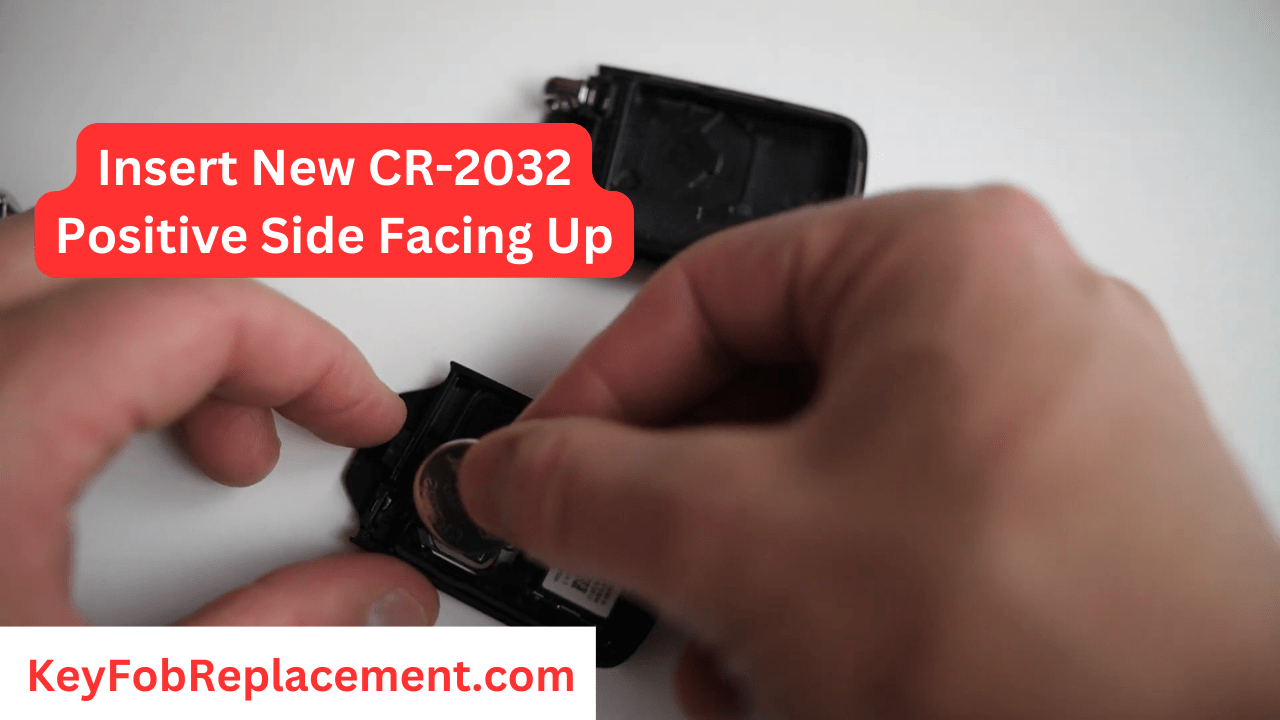
Place the valet key under the battery and carefully pop the old battery out. Now that you have the old battery out, pop in the new battery. Make sure that the positive side is towards you; the side with letterings is the positive side.
4. Pop two halves back together
Place the two halves of the key fob together and snap them back into place. Now, place the valet key back into the fob key and your key is all set!
Replace a Honda Accord Key Battery (2013 – 2017) – Physical Key Rectangle Buttons
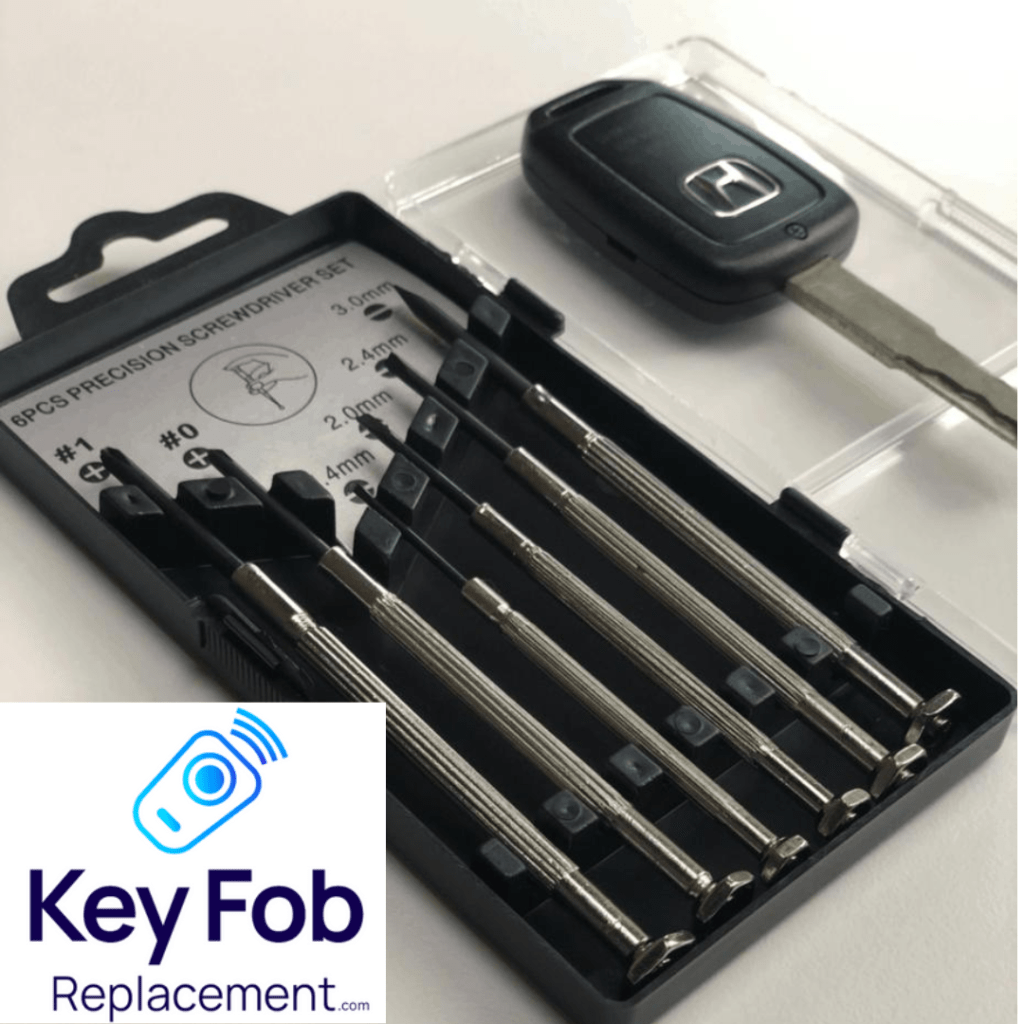
You’ll want to have a precision screwdriver kit to change the battery in this key remote for the Accord. It’s just a few dollars on Amazon and will save you a ton of time.

This is the battery you need for this Honda Accord physical key with rectangle buttons:


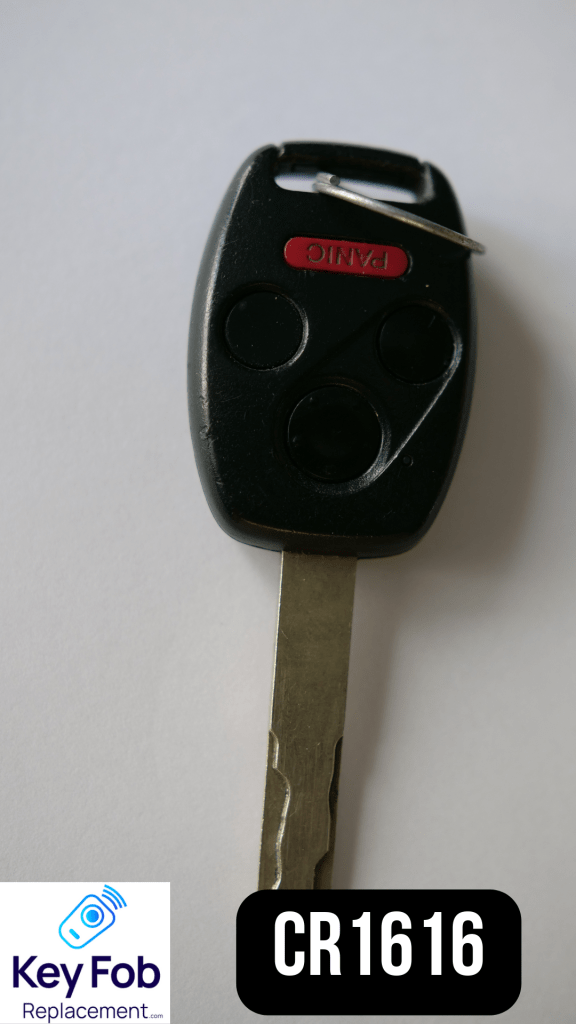
Replace a Honda Accord Key Battery (2003 – 2012) – Physical Key Rounded Buttons
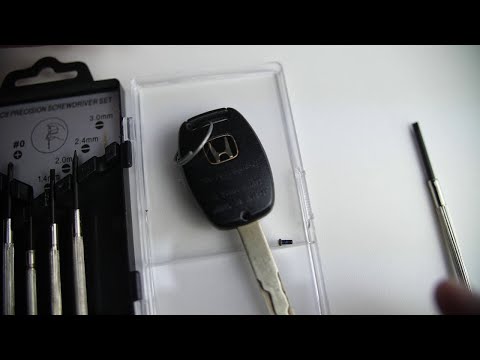
This is an older key remote, you’ll want the small screwdriver kit again.
This is the battery you need for this Honda Accord physical key with rounded buttons:

How to Change the Battery in a Honda Accord Physical Key Remote
Step 1
Flip the key to the back to reveal a small screw. You’ll need the smallest screwdriver in the set to remove the screw. Get the screw out and put it aside.
Step 2
Put a small flat screwdriver into the little notch at the base of the key on the left side and give it a little twist. The twist will make the key come apart into two pieces; tug at the notch at the upper part of the key to make the pieces come off easily.
Step 3
Pulling out the two pieces will give you access to an inner casing with buttons. Pull out the inner piece while you set the previous casings aside.
Step 4
Locate a notch at the bottom of the inner piece and give it a twist with a flathead screwdriver. The inner piece will come apart into two to reveal the battery you need to change. Place the flathead screwdriver under the battery and it will pop out.
Step 5
Put a new battery back in. Make sure the positive side of the battery is away from you and the part without lettering faces you. Put the replacement battery underneath the bigger notches and prongs on the inner piece and push it down to fit well.
Step 6
Put together the inner piece, press both sides against each other and it’d snap back in place. Once the inner piece has snapped back to place, fix it into the outer casing that you previously set aside and snap them together.
Step 7
Place the inner piece on the front cover and snap it into place. Then pick up the other casing, and carefully snap the notch at the top together before closing up the two casings together. Now put the screw back into the key.
Step 8
That’s it, you’re done! You’ve successfully changed the battery in no time.